Laser projector HD25-13
Just finished this pair of custom HD25-13. They are the first pair of sennheisers to be fitted with a custom laser line module.

Cable wrapping how too
Here is a quick guide to cable wrapping, It is the one thing I get asked about all the time and it is really easy to do, especially oh the HD25 straight cables
If you need to know how to remove the cable click here
1) You are going to need to cover up the connectors to stop them from snagging the braided wrap

2) You can see here I have taped the lower connector to the cable

3) Chose your color. You will need some heat shrink tubing to terminate the ends

4) Start to feed the taped up connector into the sleeving. I do not pre cut the wrap as It changes length slightly as you wrap it

5) You will have to work the cable along by puckering it up and then grabbing the end through the sleeving.

6) If it starts to fatten up like this then just slide your fingers down the length of the cable and it will tighten up again.

7) When you have the same length of unwrapped cable as the distance from where the two parts of cable join the tip of the black connector it is time to cut the cable wrap

8) Snippy snipp. You can use scissors, craft knife or snips

9) Work the wrap down the cable until it looks like this

10) You will now need 3 bits or shrink wrap. 2 of them cut at 45 degrees with the corners snipped off

11) Slide the larger 45 degree bit down to the end of the cable and the straight bit over the other end of the wrap

12) Now use a hair dryer on a high heat to shrink the straight bit of tubing

13) Now shrink the other end making sure it stays tight up against corner of the jack then put the second 45 degree bit on the front of the jack

And there you have it a swanky UV wrapped cable

Photo Shoot
Had a fun photo shoot the other day trying to get some pics and ideas for the new version of the website I am working on at the moment.
Here are some of the picks


Video Tutorial …. Dismantling the Sony MDR-V700DJ HEadphones
Here is a quick guide to dismantling the Sony MDR-V700DJ headphones safely. Sorry for the 3 minutes of nothing at the end… I managed to dismantle them in 7 minutes and had a nice 10 min mix made up… It seemed like a shame to waste it and you may enjoy the tracks.
Enjoy
Headphone Competition
Want to get your hands on some free DJ Headphones well now is your chance
Over the next couple of months you will have the chance so win some swanky custom DJ headphones. But as always it is not easy to get something for nothing and this comp will test your creativity to the max.
The brief is pretty open, it’s all about the numbers. Just make a youtube video ( preferbly DJ or headphone related but it is up to you ) with this image for 2 seconds at the end. Then post it on the wall of the new facebook group.
On the closing date ( 31st of march ) the video with the most views wins…. Easy. If you have any questions just email
For some tips check out this page and ones like it

New Facebook Page
I Have started a new Facebook group for Custom Cans

New Glowing headphones
Here are some new glowing headphones for DJ Bully. They were done with a custom made three layer stencil. The glow in the dark paint will not do fine detail so to get the fine lines I undercoated the whole thing in glow in the dark paint and then build everything up on top of that.


Bling Bling HD 25-1
Here are some Sennheiser HD25-1 with covered with hundreds of swarovski crystals. They took a good few days to glue them all in place neatly but they look quite nice.


Custom Cans
Project Ultimate iPod Dock
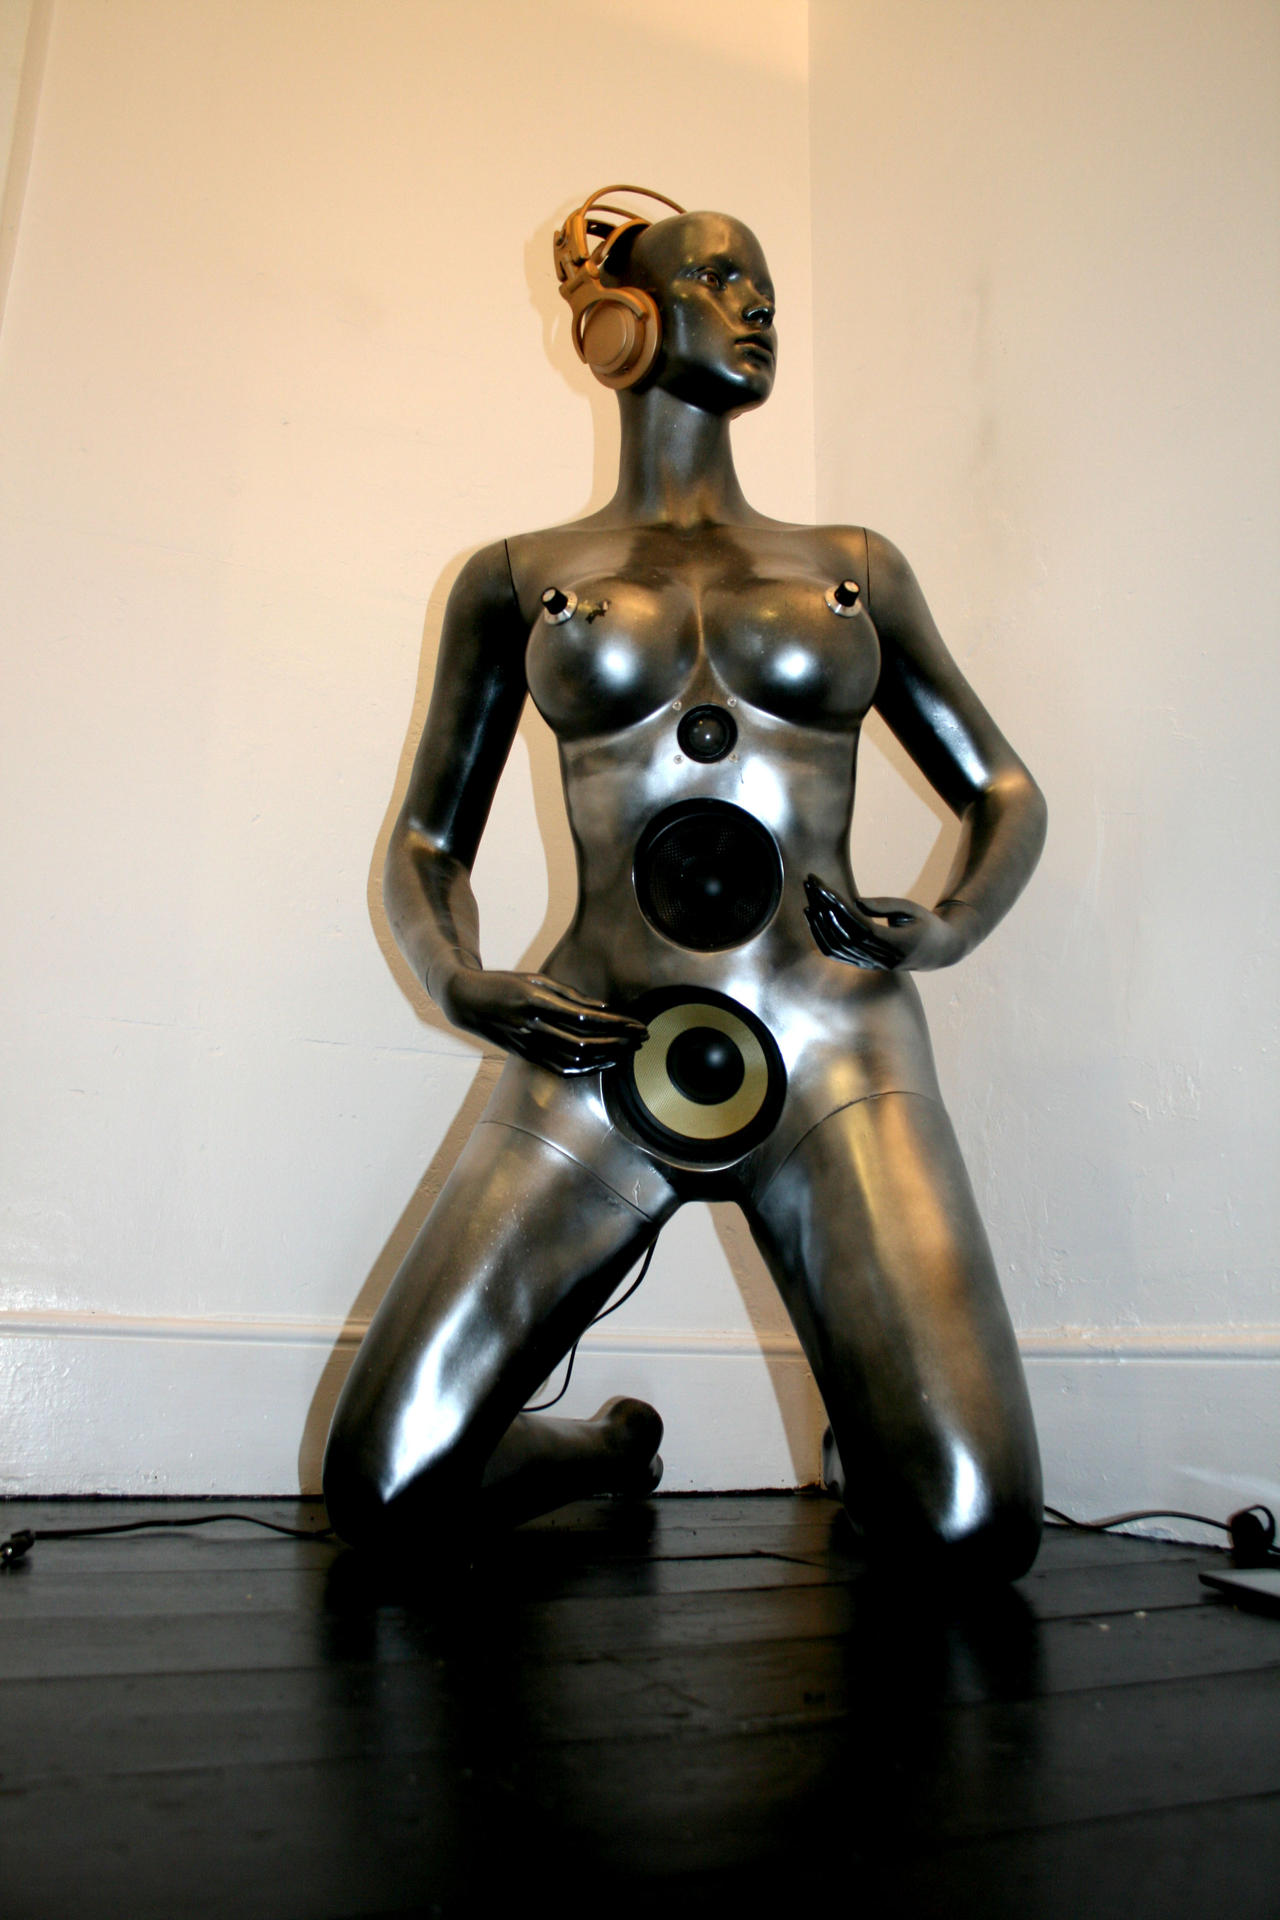
I know it is not headphone related but I thought I would share it anyway as it is something I have been working on for a long time. The idea was to make an iPod dock that looked like a sexy sci-fi robot lady that sounded much better that the most other ipod docks. Well she is just about finished now with only a little tweaking to be done.

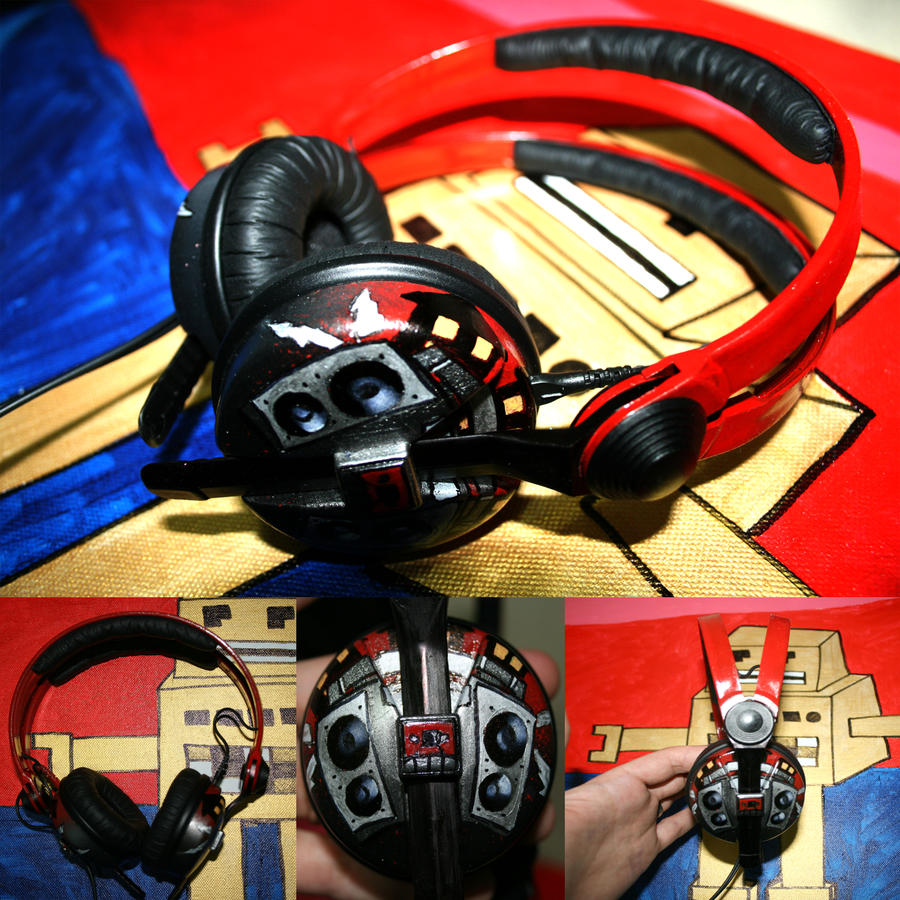
Ghetto Blastter HD25-1
These were great fun to make as they reminded me of doodles I used to get told off for doodling in art college.
They started off with a silver base which had been wet sanded to make it super shiny then a black to red fade with a mask for the ghetto blaster. Then I filled in the speakers with a circular mask and did the highlights

Then did all the detail with marker and a fine brush

And here is the final product
