ROTM HD-25-1
I have finally finished The ROTM HD25s in a porcelane white and marker. Then covered in a protective varnish. I was going to go with a white cable but decided to go with a UV wrapped green one instead. They were fitted with a gold 1/4″ jack to go straight into the mixer with no adaptor.
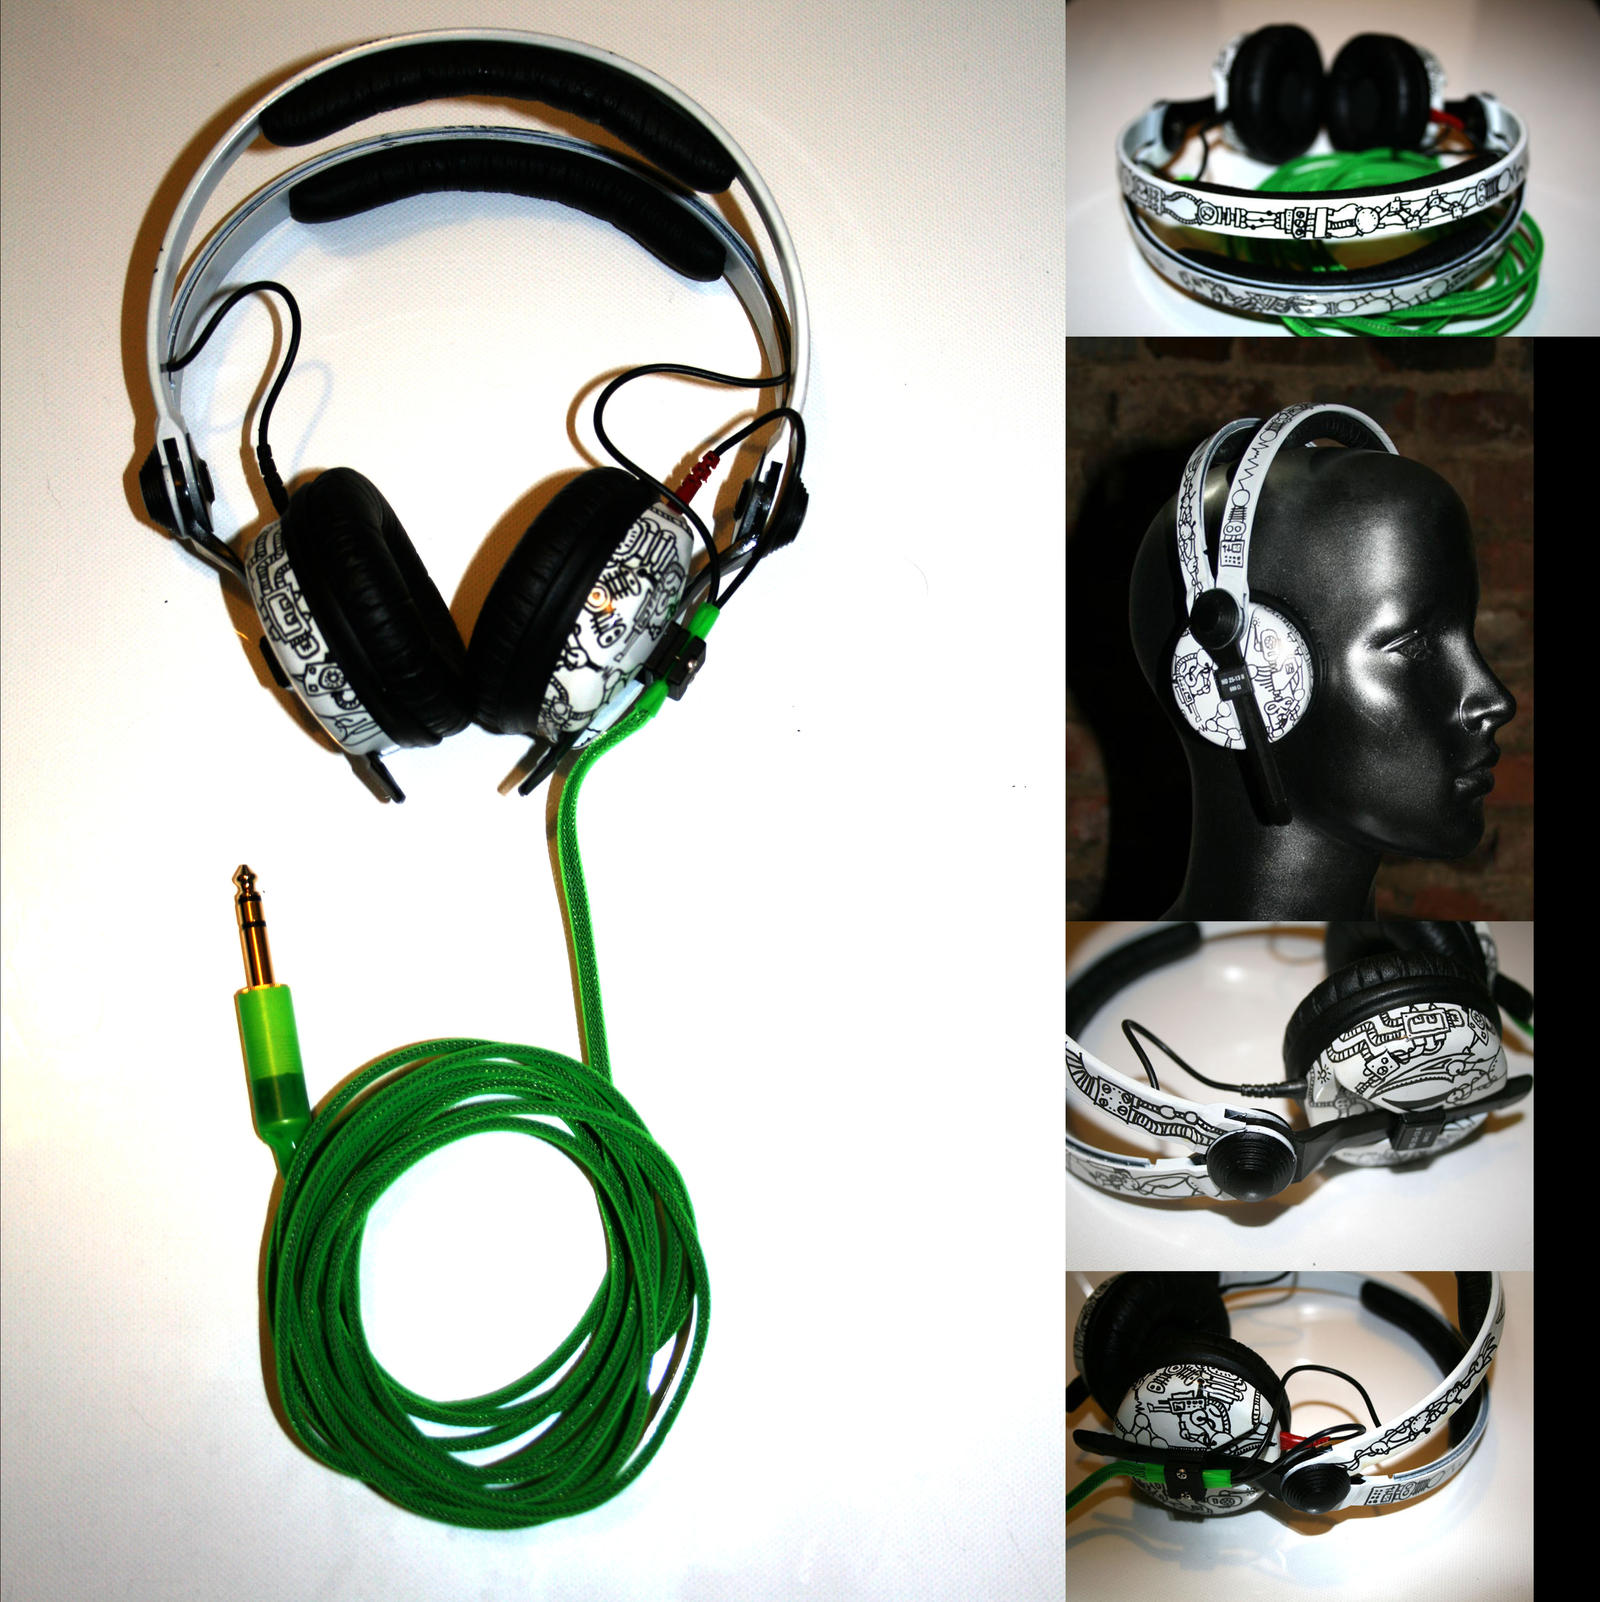
For more details check out CustomCans
South Park style Headphones
Here are some Stenciled OEM Headphones that have just been finished
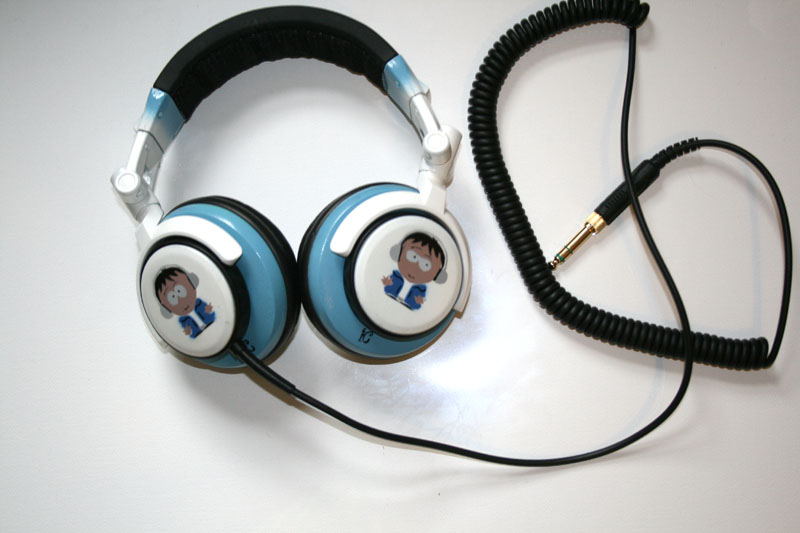
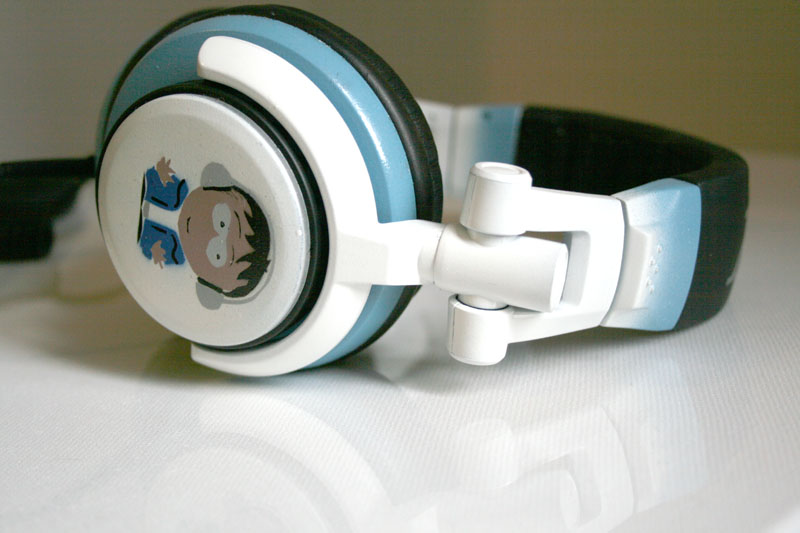
For more details check out CustomCans
Ciroloco headphones
Here are some OEM DJ headphones with the ciroloco logo on
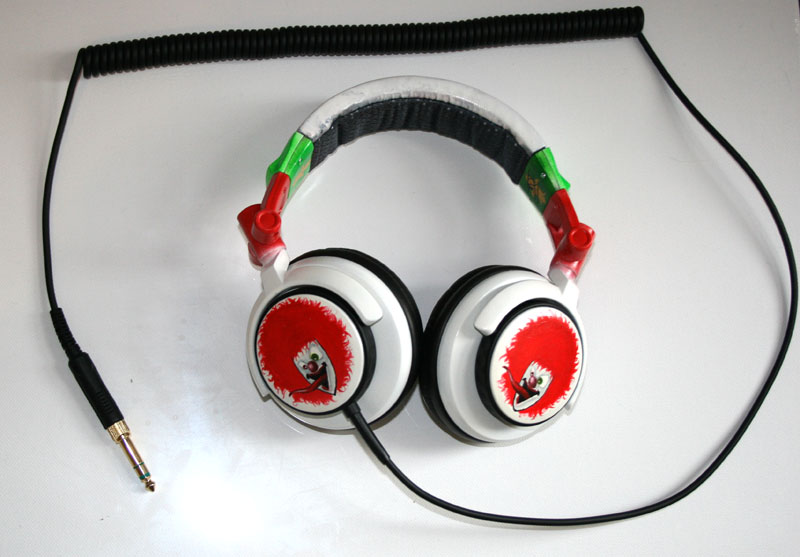
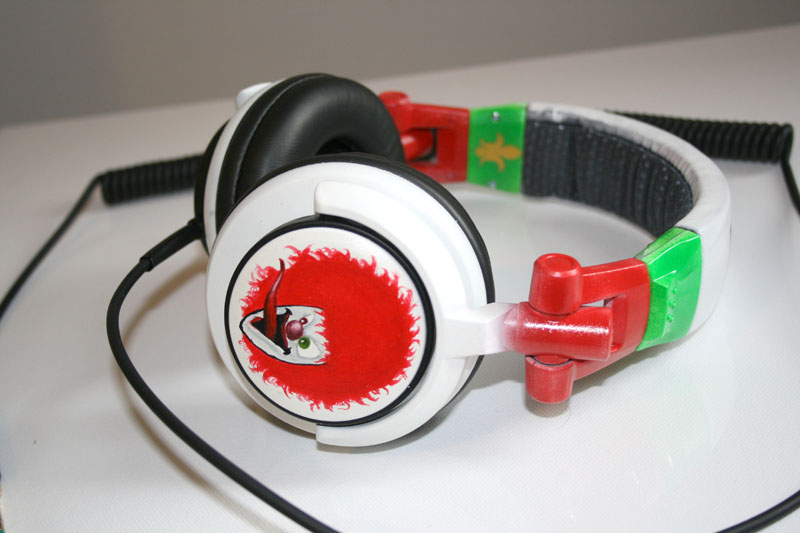
For more details check out CustomCans
South Park stule V700s
Working the on some southpark inspired V700s at the moment. I am using a 6 layer stencil for these which is taking ages to dry but looks quite good

Laser Module For The MDR-V700DJ
I have been toying with the idea of adding a laser to some headphones for a while. Now I have finally got round to sorting it out. I have managed to get the battery and lasermodule to fit in the earcup of the MDR-V700. Here are some picks of the results.


For more details check out CustomCans
Dismantling Pioneer HDJ-1000 Headphones
Here is a guide to dismantling the mighty Pioneer HDJ-1000 DJ headphones. They are tough to pull apart and I don’t advise it if you can avoid it.
Well Here We GO…
Stage one. The easy one. Box fresh HDJ-1000s

Stage two. Again not to hard – remove the foam earpads by unhooking one small part then working it round, similar to removing a bike tyre.

Stage three. Remove this screw first on the left hand cup and it will release the cable, then remove the other three black screws on each driver to separate them from the cup.

Stage four. End of the easy bits – this is where you should be at at the moment

Stage five. Carefully release the headphone socket by undoing this screw so you can get access to the rear side of the board

Stage six. Un solder the cables from the drivers

Stage seven. Removing the connecting cable. This is a bit fiddly… You will need to not down where the cables go but… in order to take the cups off you will need to detach the interlinking cable ( the cable that is threaded through the headband ) from the circuit boards.

Stage eight. Re attach the headphone socket. At this stage I put the socket back in place just so I did not rip off the remaining cables. Here is where you should be at

Stage nine. Some more fiddly bits. To release the rubber bits you will have to remove the 4 tiny screws in each cup denoted by the arrows. To remove the switch you will firs have to remove the switch board then slide the clip ( circled ) holding the switch in place by sliding it firmly away from the headphone socket.

Stage ten. Here are the bits removed in the last stage. I took this pick as it is tricky to see the pieces in the other pic

Stage eleven. remove this screw on each side

Stage twelve. Bend the hinges and remove these screws. They are very long so just keep unscrewing

Stage thirteen. Carefully leaver out this cover you unscrewed earlier – this is the trickyest bit as you don’t want to scratch or snap anything.

Stage fourteen. Carefully remove the small rectangle of plastic in the hinge and the spring behind it.

Stage fifteen. Unthread the cable and your done…. wooo hoooo

MDR-XD1000 frankenphones on the way
I have a few pairs of MDR-XD1000 frankenphones coming in for testing soon. I have spoken to a couple of people and the sound quality is supposed to be quite good. I cant wait to get them pulled apart and do some destruction tests on them so see if they will be suitable for spraying and moding.
Here are the Sony branded ones to give you an idea of the general shape

I don’t know if they will be any good for DJing as the headband looks crazy but I am hoping to make some cool cyberman style headphones from them.
New ROTM Headphones
I have started working on some new rise of the machine headphones at the moment. I have started with a pair of sennheiser HD 25-13 ii as I had some spare knocking around. They came out quite nicely but as they are quite small headphones they are tricky to do. When my next batch of JFunk OEM headphones come in I will probably do a couple more of those in the same style.


Rolla Technics 1210 headohones
Currently under construction is a pair of custom Technics RP-DJ 1210. I have never done a pair of these before as they are quite new. Over all they felt well made and were nice and light weight which was nice. The main USP as far as I could was the locking swivel hinges which is a nice feature. Luckily they came apart easy enough the only surprising thing was that the technics logo area was made of rubber rather than plastic. The cable has a nice strain relief system inside and you can detach the cable with a soldering iron and a bit of cunning.
I have been supplied with a logo and they are coming along quite nicely at the moment

Bloging
Well… I suppose I had better start a blog to help with SEO and things. I will try to update it regularly with the various projects and things the team and I are working on.
In the pipeline at the moment is a new cutting machine to make automate the stencil cutting process and a couple of new models of headphone are going through the testing process.