Dismantling Pioneer HDJ-1000 Headphones
Here is a guide to dismantling the mighty Pioneer HDJ-1000 DJ headphones. They are tough to pull apart and I don’t advise it if you can avoid it.
Well Here We GO…
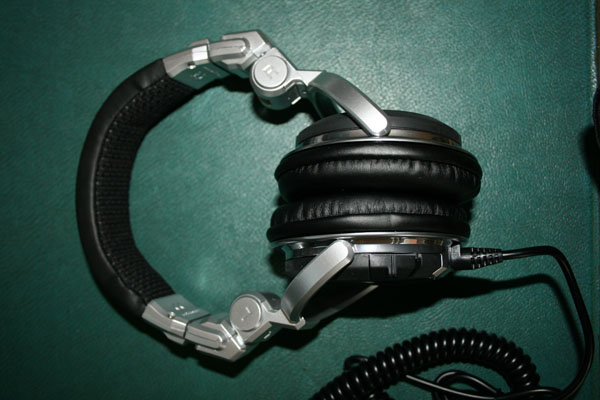
Stage one. The easy one. Box fresh HDJ-1000s
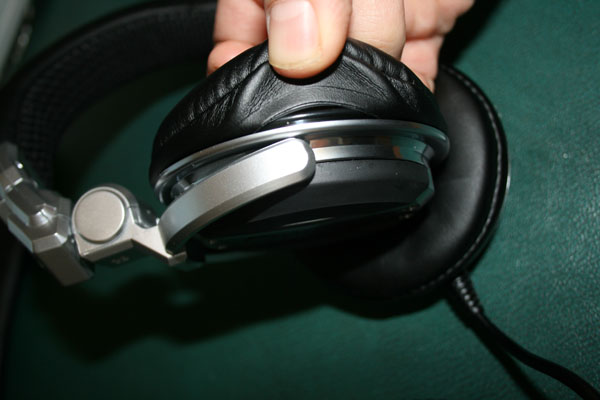
Stage two. Again not to hard – remove the foam earpads by unhooking one small part then working it round, similar to removing a bike tyre.
Stage three. Remove this screw first on the left hand cup and it will release the cable, then remove the other three black screws on each driver to separate them from the cup.
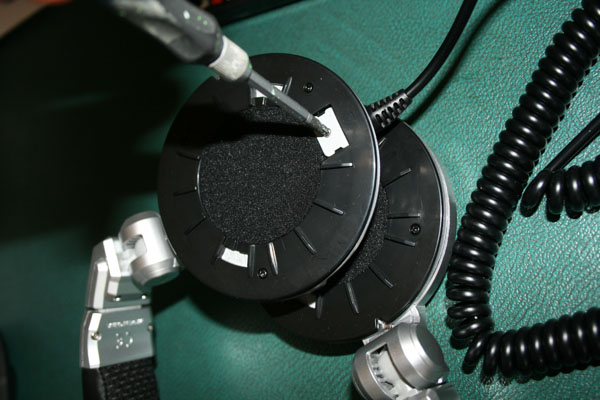
Stage four. End of the easy bits – this is where you should be at at the moment

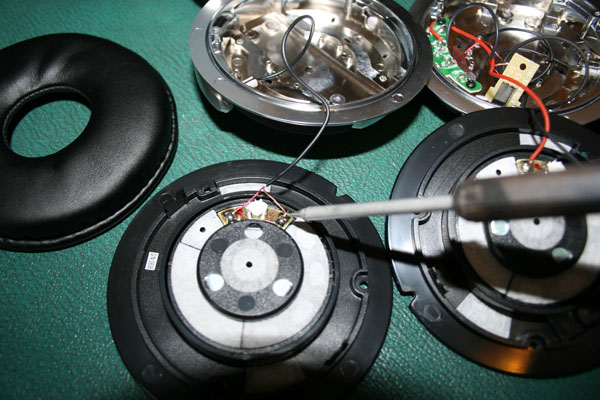
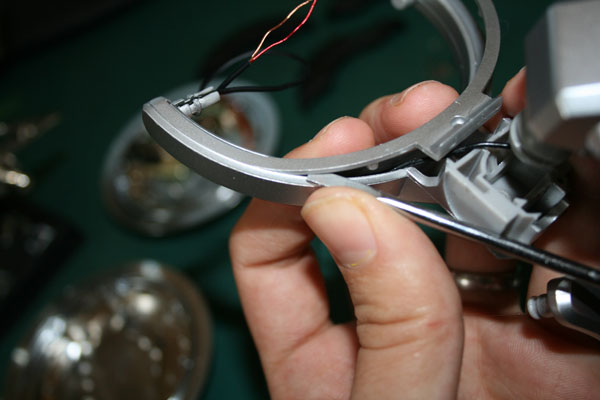
Stage five. Carefully release the headphone socket by undoing this screw so you can get access to the rear side of the board

Stage six. Un solder the cables from the drivers
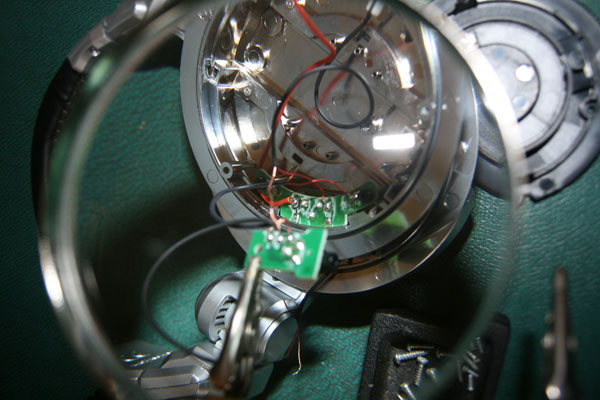
Stage seven. Removing the connecting cable. This is a bit fiddly… You will need to not down where the cables go but… in order to take the cups off you will need to detach the interlinking cable ( the cable that is threaded through the headband ) from the circuit boards.
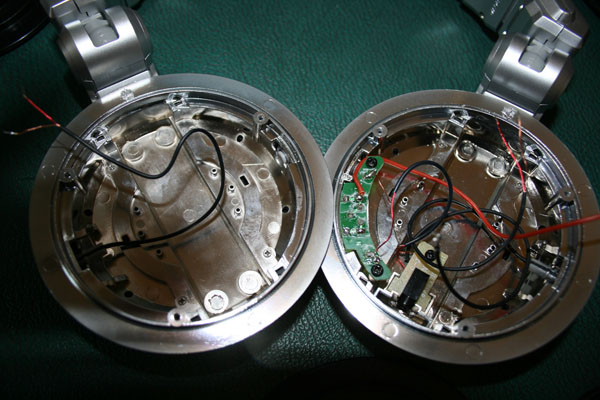
Stage eight. Re attach the headphone socket. At this stage I put the socket back in place just so I did not rip off the remaining cables. Here is where you should be at
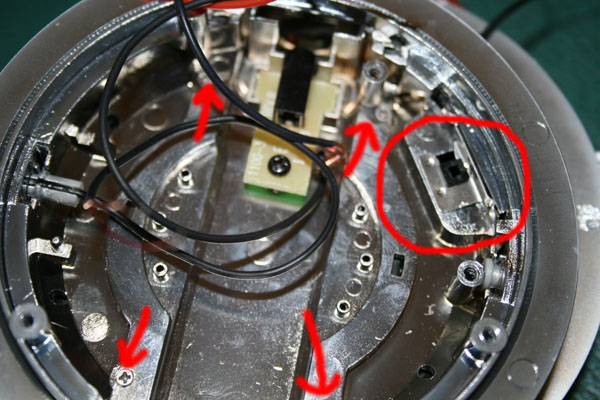
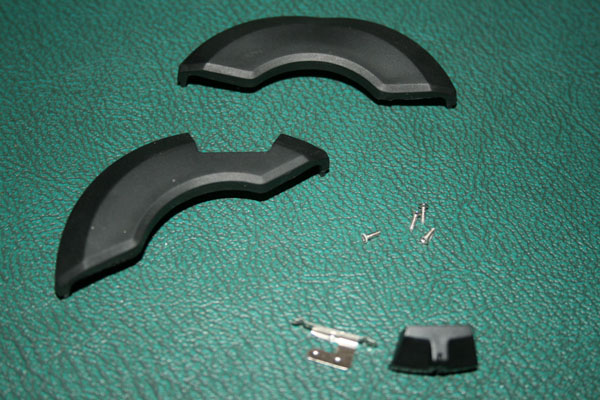
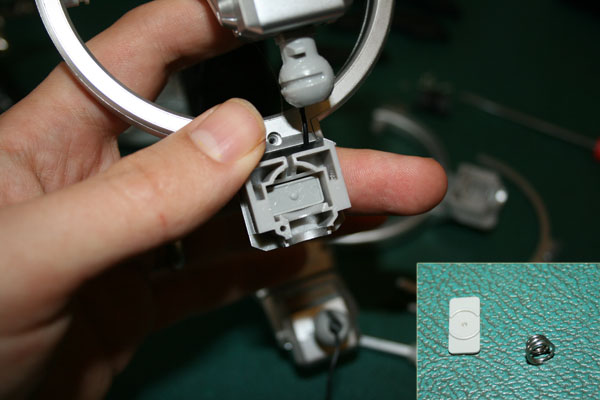
Stage nine. Some more fiddly bits. To release the rubber bits you will have to remove the 4 tiny screws in each cup denoted by the arrows. To remove the switch you will firs have to remove the switch board then slide the clip ( circled ) holding the switch in place by sliding it firmly away from the headphone socket.
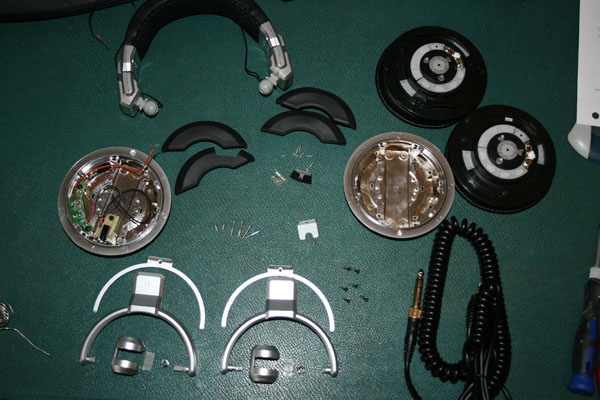
Stage ten. Here are the bits removed in the last stage. I took this pick as it is tricky to see the pieces in the other pic
Stage eleven. remove this screw on each side
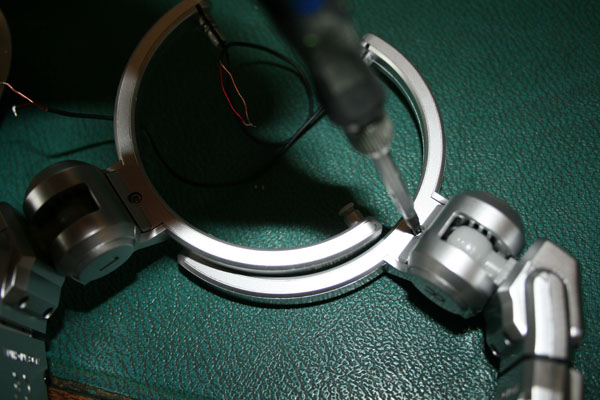
Stage twelve. Bend the hinges and remove these screws. They are very long so just keep unscrewing
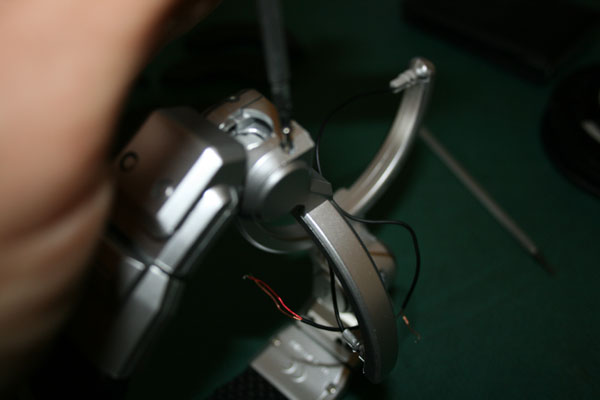
Stage thirteen. Carefully leaver out this cover you unscrewed earlier – this is the trickyest bit as you don’t want to scratch or snap anything.
Stage fourteen. Carefully remove the small rectangle of plastic in the hinge and the spring behind it.
Stage fifteen. Unthread the cable and your done…. wooo hoooo